Technical Note: XTN1602
Background
Cache-A LTO appliances write to tape using either LTFS or TAR formats. The Cache-A TAR format uses a proprietary index which means the cartridges are not compatible with XenData systems. To convert from Cache-A's proprietary TAR format, cartridges must be read in the Cache-A appliance; then the contents may be written directly to a XenData system.
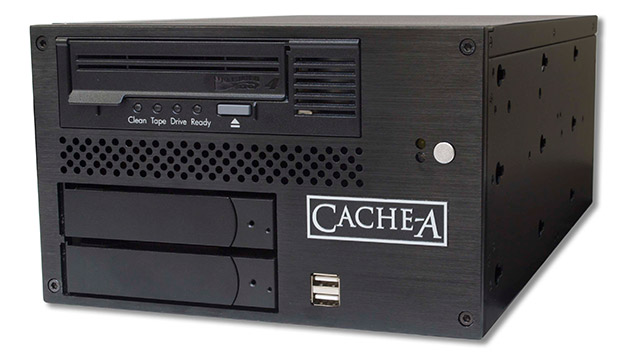
Migrating LTFS cartridges from Cache-A to XenData does not require transfer of the tape contents. The tape cartridges can be inserted into the XenData system and a XenData catalog will be created automatically. After publishing the contents of the cartridge to the XenData system using the Import Folder Structure command, the files are accessible. This operation typically takes about 10 minutes per cartridge.
This technical note describes a streamlined approach to copying Cache-A TAR tapes. It allows files to be simultaneously copied from LTO to the Cache-A VTAPE and transferred to the XenData system.
Create Network Connection
Connect the Cache-A appliance and the XenData system on the same network. On the XenData server MAP the Cache-A share \\archive##\cache-a to a drive letter (example V:), where ## is the last two #’s of the Cache-A’s serial number by default.
Create New Volume Set and File Group for Cache-A Migration
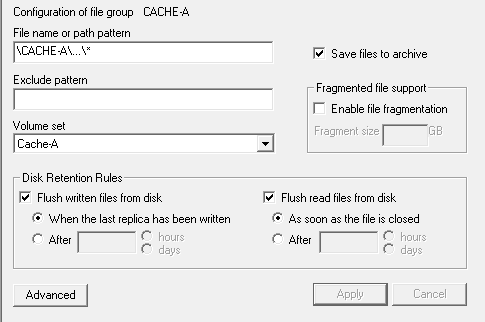
From the XenData Server create a target folder on your XenData’s X: drive. (example: X:\CACHE-A). Open the XenData Management Console, create a new Volume Set. Enable replication if you want to automatically create additional LTO cartridge copies. Then add the first Volume.Configure a File Group rule to target the new folder and all subfolders and files on your XenData target folder. Direct the File Group to the Volume Set you just created. Set the Disk Retention Rules to Flush files after having been written or read. This is illustrated below:
For more information on Volume Set and File Group settings please refer to the XenData Administrator Guide or reference the "How To" videos at these links:
https://xendata.com/support-xendata-archive-series/xendata6-server-how-to-videos/
https://xendata.com/support-xendata-archive-series/xendata-archive-series-software-v7-how-to-videos/
Simultaneous Restore and Migrate ROBOCOPY Script
To copy the files from the Cache-A VTAPE while they are being restored you can create a Robocopy batch file. On the XenData server’s desktop create a new text file and rename it to CacheA.bat or download the example file here. Edit the file to include the following robocopy string:
Robocopy V:\ X:\CACHE-A /E /R:0 /W:0 /XD V:\VTAPE /MOT:1
| V:\ | Cache-A’s VTAPE, or your mapped path | |
| X:\CACHE-A | Destination directory, or your chosen destination on XenData | |
| /E | Copy Subfolders, including Empty Subfolders | |
| /R:0 | Set number of retries on failed copies to zero, avoids errors due to files in use | |
| /W:0 | Set wait time between retries to zero, avoids errors due to files in use | |
| /XD V:\VTAPE | Exclude directory VTAPE, duplicates data in individual tapes directory | |
| /MOT:1 | Retries robocopy every 1 minute |
How to restore from Cache-A
Start the Robocopy Script.
Insert a cartridge into the Cache-A drive.
Login to the Cache-A GUI, under "File Manager", select "Recover All" from the "Tape Directory – Menu".
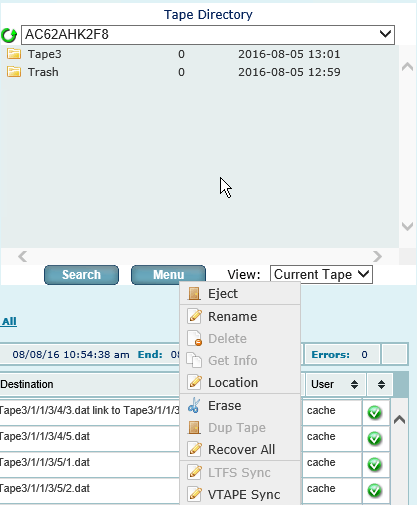
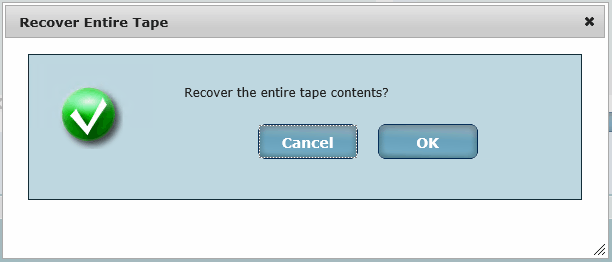
Once the recover operation is completed, and robocopy has finished moving all files to XenData's X: drive Eject the Cache-A cartridge and select "CLEAR" VTAPE at the Ejection prompt.
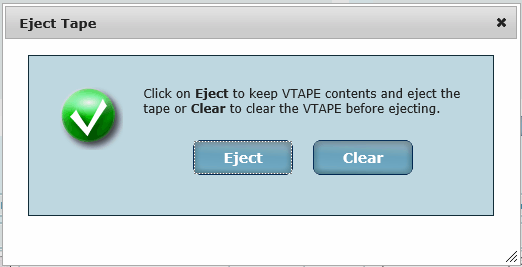
Leave the robocopy script running and repeat the process for each Cache-A tape to be transferred.
Applicable Operating Systems
- Windows Server 2012 R2
- Windows Server 2016
- Windows Server 2019
Applicable XenData Software
This technical note is applicable to:
- Version 6 – Server Editions of Archive Series software
- Version 7 – Server Editions of Archive Series software including the Cloud File Gateway


