- First connect the ODA drive to the X1 using a USB cable. You may use any of the USB ports at the rear of X1 unit. Then power on the ODA drive. After this, turn on the X1 by pressing the power button on the front of the X1 unit. Then login to the X1.
ODA Installation Instructions
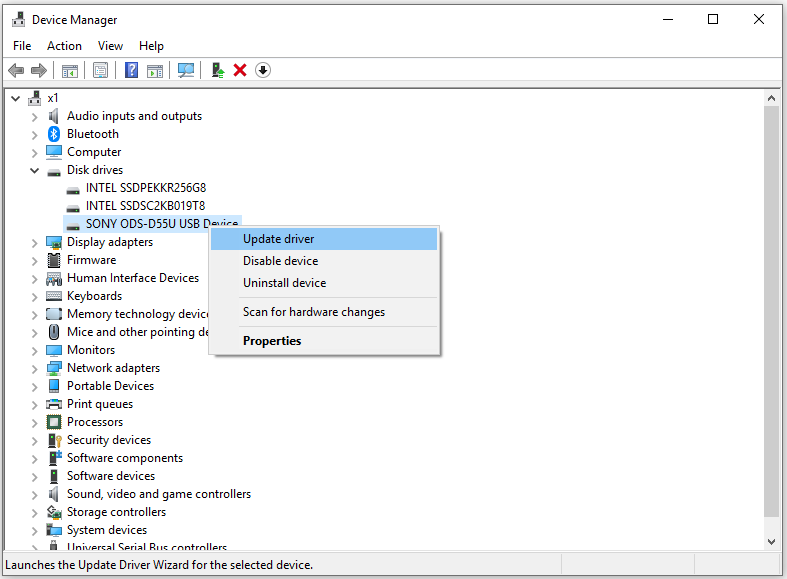
- Right-click on the Start icon and select Device Manager. Normally the ODA device drive will have been installed automatically. You should check the Device Manager listing to ensure that this is the case. If so, the ODA drive will appear under disk drives as shown below.

If the ODA device driver has not been installed automatically, it may appear in the "Other Devices" section of Device Manager. The procedure to install or update the device driver is as follows. Right-click on the drive in the Device Manager listing and, in the menu, select options, click "Update Driver". Click on "Browse my computer for driver software" and then “Let me pick from a list of compatible drivers on my computer”. Optical disk drive will appear under ‘Model’ select this and click ‘Next’ then close. A pop-up will appear saying that you will need to restart your computer for the changes to take effect, click ‘Yes’ and the computer will reboot. Once the X1 has rebooted go back into Device manager and check the "Disk drives" section of the Device Manager and the ODA drive should now be displayed here.
- Then use the XenData hardware configuration utility to recognize the ODA drive as described in the X1 Installation and User Guide.


